The Organization Settings feature allows Organization Admins to create and manage multiple workspaces in Wealthbox. This helps firms segment users, control access, and maintain oversight across teams or offices.
Access Workspace Management
To manage users and workspaces across your firm:
-
Click the three dots in the top-right corner of Wealthbox.
-
Select Organization Settings.
From this page, you can view and manage all users across workspaces.

Filtering Users from the Users Tab
Navigate to the Users page within Organization Settings and filter by Active or Invited status to quickly identify pending invitations.
This makes it easy to follow up with users who haven’t yet accepted their Wealthbox invitation.
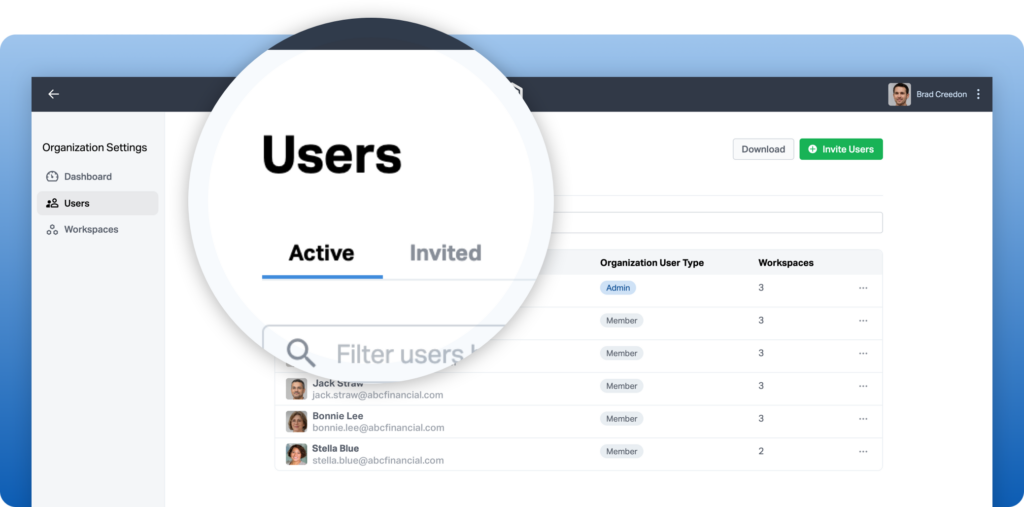
Download User List
Export a CSV file containing:
-
-
User status
-
Email address
-
Last login date
-
Workspace role
-
Permissions
-

Manage User Access and Permissions
Organization Admins control how each user interacts with Wealthbox:
Workspace Access
Assign access to all workspaces or only specific ones.
Roles & Privileges
Admin – Full administrative access
Manage Users – Ability to add or remove users.
Exporting Privileges – Ability to export data.
Permissions
Set a default permission level (visibility restrictions) under Manage Permissions.
Choose whether users can adjust their own permissions.
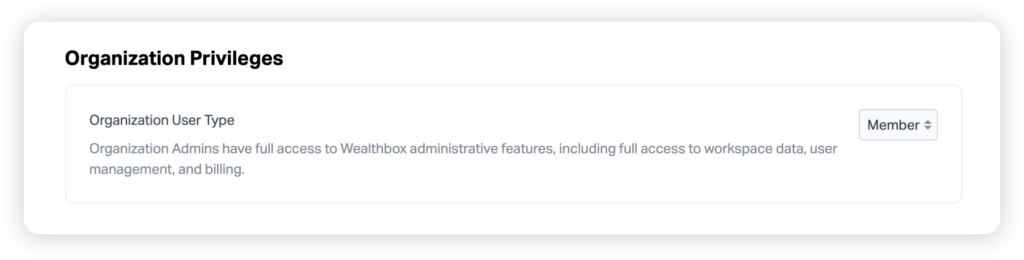
Organization Privileges
By default, new users are assigned the Member role.
Org Admins can promote users to Admin, allowing them to:
-
-
Manage settings
-
Adjust permissions
-
Oversee other users across the organization
-
How to Create a Workspace and Assign Yourself as the Owner
Important Note: You have to add yourself to create a new workspace
-
-
Navigate to Organization Settings and open the Workspaces page.
-
Click Create Workspace (green button).
-
Enter a name for your new workspace.
-
Under Users, click Add User.
-
In the Search and select users field, search for and select yourself.
-
Click Add (green button) to confirm.
-
Click Save to create the workspace.
-
After saving, locate your name in the user list.
-
Click Admin next to your name and change the role to Owner.
-
Click Save again to confirm the ownership change.
-
How to Add New Users to a Workspace
- Navigate to the Users tab in your Organization Settings.
- Click “Invite Users.”
- Enter user details.
Add the user’s first name, last name, and email address.
To invite multiple users, click “Add another user.” - Set organization privileges.
If the user should not be an organization admin, leave the Organization Privileges option set to Member. - Review workspace defaults.
These defaults ensure the user has consistent settings across all workspaces.
If the user belongs to multiple workspaces that require different permissions, turn off the defaults and adjust access individually in the Workspaces section. - Add the user to additional workspaces (if needed).
Click “Add Workspace”, select the applicable workspaces, and click Add. - Review permissions.
Confirm that the user’s workspace-level settings and permissions are correct. - Send the invitation.
When finished, click “Invite Users” to send the invitation email.
How to Give Existing Users Access to a New Workspace
-
Navigate to the Users tab in your Organization Settings.
-
In the “Filter users by name or email” field, search for existing or active users who need access to the new workspace.
-
Beside each user’s name, click the three-dot menu and select Edit.
-
Click Add Workspace.
-
Select the checkbox for each workspace the user should have access to, then click Add.
Automatically Add Users to Future Workspaces
If a user needs access to all workspaces created in the future, enable the “Add to new workspaces” option in the Workspace Defaults section. When this setting is toggled on, the user will automatically be added to any new workspaces created moving forward.
Note: This setting does not add the user to existing workspaces — only to those created after the option is enabled.
Marking a User as a Home Office User
If a user does not need to be assigned activities, select the “Home Office User” option to hide them from assignment dropdown lists.
With your users and workspaces set up, you’re ready to manage access and collaboration across your firm. Review permissions regularly to ensure everyone has the right level of access as your organization grows.